Classic New York Grandma Pizza Dough

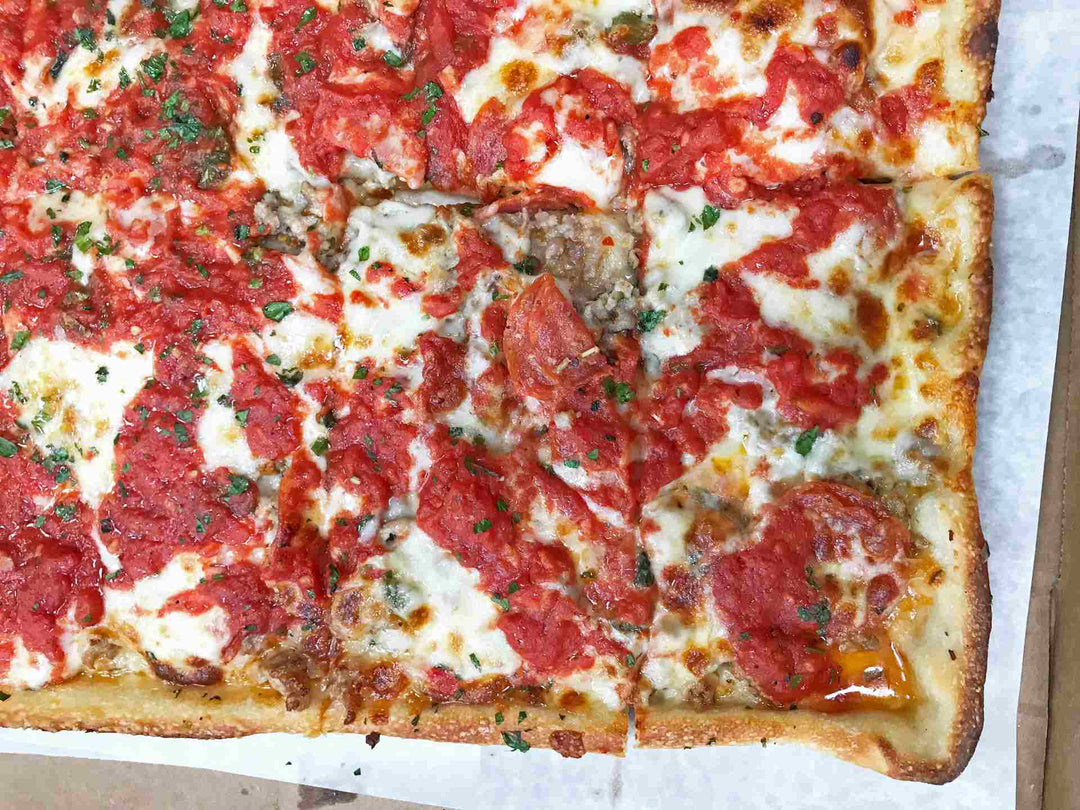
Grandma Pizza has grown in popularity over the past 20 years, going from a regional specialty found at pizzerias in Long Island, New York, to a trendy style that’s increasingly a menu standard, even getting upscale treatment at times. These days, many square or rectangular pan pies, some as tall as an inch (2.5 centimeters), get the “Grandma” name, but the original Grandma Pizza was much thinner — about a ¼- to ½-inch (0.5 to 1 centimeters) tall. At its most basic, this is a gas oven-fired, light, crispy-chewy, square pan-cooked pie with a scattering of mozzarella, a light addition of uncooked crushed tomatoes, and garlic.

Sofia Pizza Shoppe founder and Sofia Wine Bar owner Tommy DeGrezia’s pizza pedigree doesn’t harken back to Long Island, but it does run deep in New York pizza lore. His grandfather was one of the founders of J & V Pizzeria in Bensonhurst, Brooklyn, one of that borough’s most famous spots going back to 1955. Tommy’s traditional take on the style stays true to that same thin, crispy-chewy approach.

Tommy’s recipe, which calls for a dough made with a blend of “00” and all-purpose flour and prepared two days in advance, yields one 24-ounce dough ball designed to be baked in the 12- by 18-inch pans he uses at his pizzeria. But the amount also works nicely in a 16- by 16-inch pan, which will fit into Ooni’s Karu 16 and Koda 16 ovens (you’ll just need to stretch the dough out a bit more). If you want to preserve Tommy’s dough-to-pan ratio in smaller square pans, you’ll want to adjust the amount of dough respectively: 520 grams for a 14-inch pan and 382 grams for a 30cm pan.

Just remember, whatever pan size you choose, you’ll need to allow about three hours between removing the dough from the fridge and baking it in the oven!

A grandma style pan pizza on baking paper topped with tomato sauce and cheese

1. Fill a mixing bowl with cold water.

Add ⅓ ( 10 grams) of the oil and then the yeast. Use a spatula, whisk, or wooden spoon to thoroughly stir in the yeast until blended.

2. Next, slowly add the flour, mixing by hand until it’s combined (about 2 to 3 minutes).

Cover the dough with a towel or plastic wrap and let it rest for 20 minutes to help activate the yeast and allow the dough to strengthen.

3. Set your stand mixer to medium, and using a dough hook, knead the dough for 10 minutes, gradually adding the salt at the start.

After mixing in the salt, add another ⅓ (10 grams) of the olive oil slowly over several minutes.

4. Once the mix is finished, remove the dough and shape it into a ball.

Place it in a lightly oiled airtight container (or bowl covered tightly with plastic wrap) and refrigerate for 48 to 72 hours. Time is your friend here, so the closer to 72 hours, the better the dough will be.

5. Remove the dough from the fridge and let it rest at room temperature for an hour.

6. If using a conventional oven, preheat it to 287°C.

If you’re using an Ooni pizza oven, wait until 20 minutes before baking to preheat your oven, aiming for 287°C on the stone baking board using an Ooni Infrared Thermometer.

7. Stretch the dough out in the pan (; this may take up to 40 minutes, resting halfway in between).

Use the remaining olive oil to coat the pan thoroughly. Place the dough in the pan and, using the tips of your fingers to dimple and press outward, begin to stretch it out to the edges. Gently flip the dough and repeat. Rest the dough, then dimple and stretch the dough out, pulling the dough out to the very edge of each corner. Gently press the dough up against the edges of the pan to create the crust, and rest for another 30 minutes.

8. Top the pizza according to your preference — but using a light hand — and bake for 16 minutes.

If using a Koda or Karu oven, make sure to lower the heat so you don’t see a full rolling flame over the top. When the pizza is done, slice it and serve. Traditionally, pizzerias tend to do cut three by four squares from a 16- by16-inch pan and two by four squares from a 12- by 18-inch pan, but feel free to slice as you like.